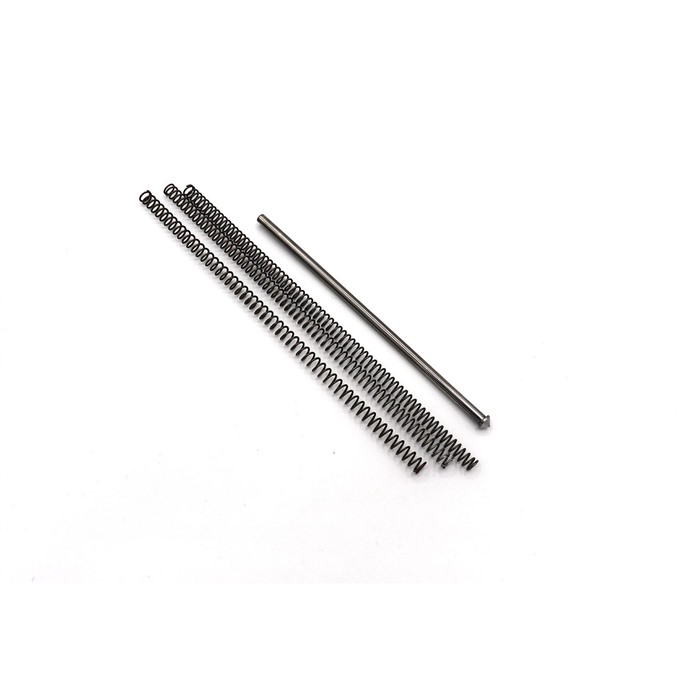
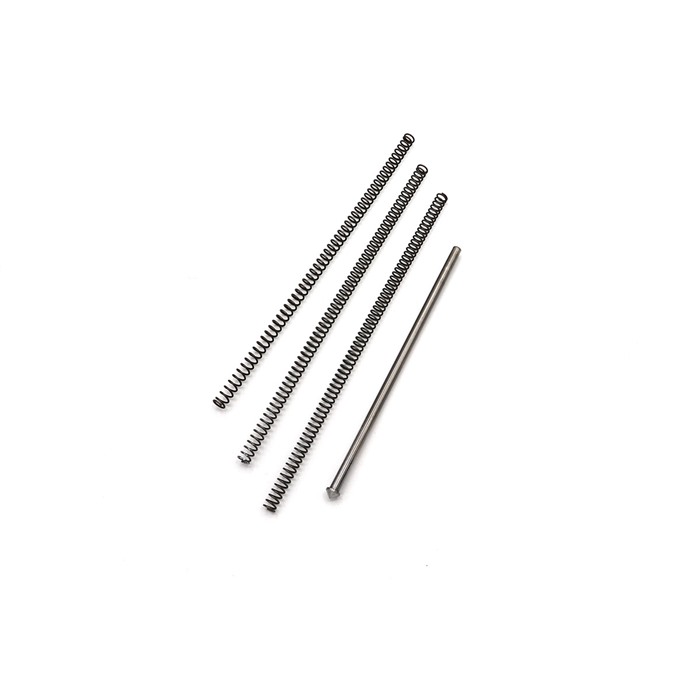
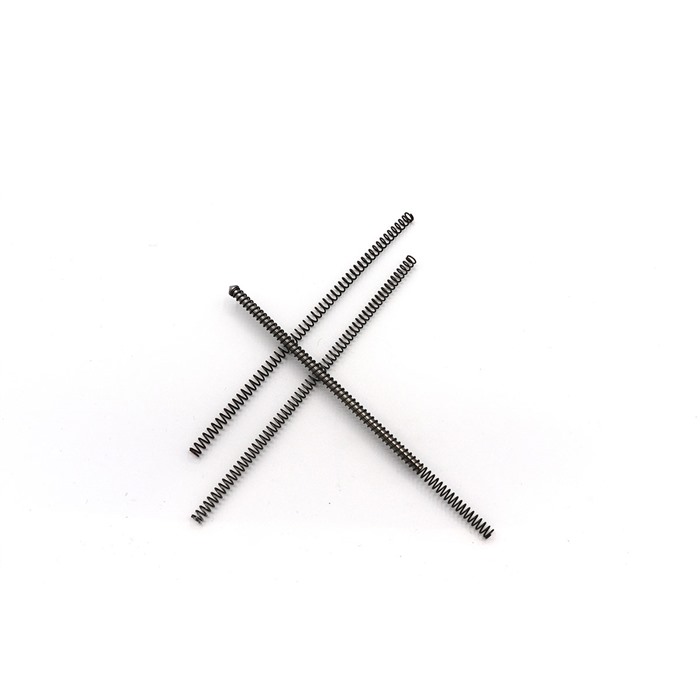
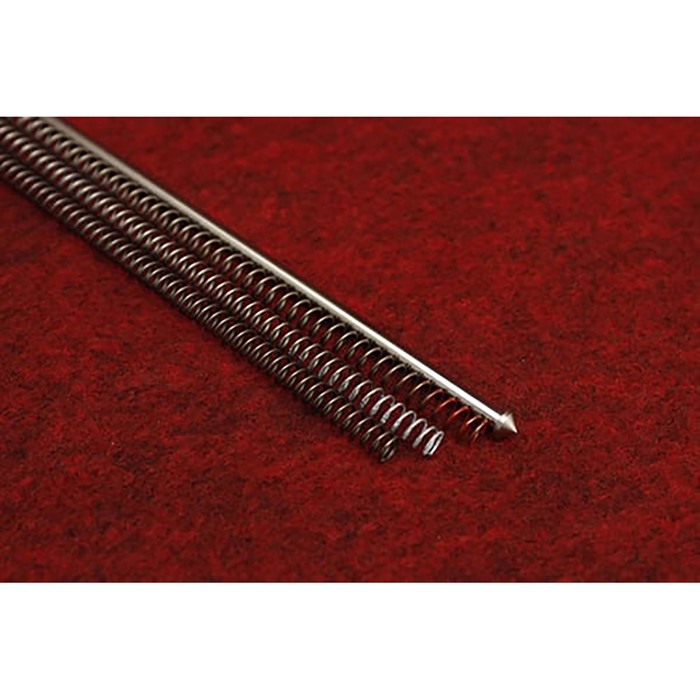
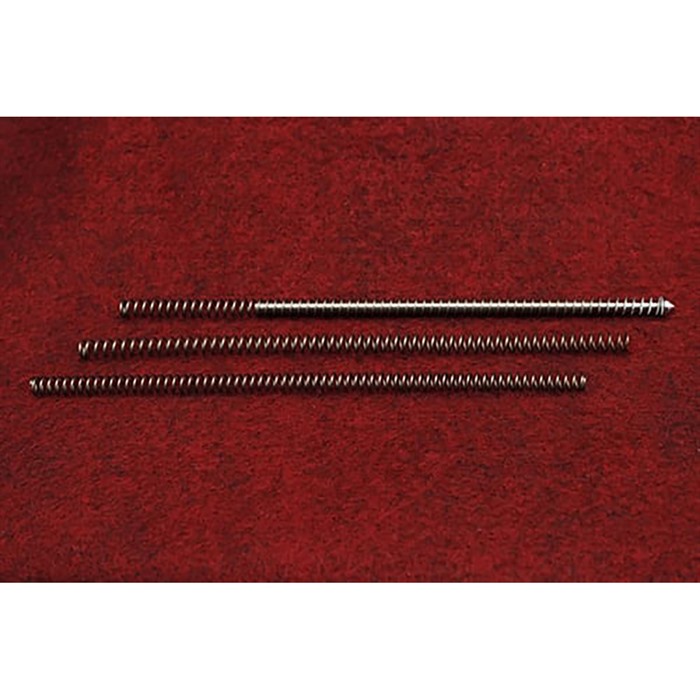
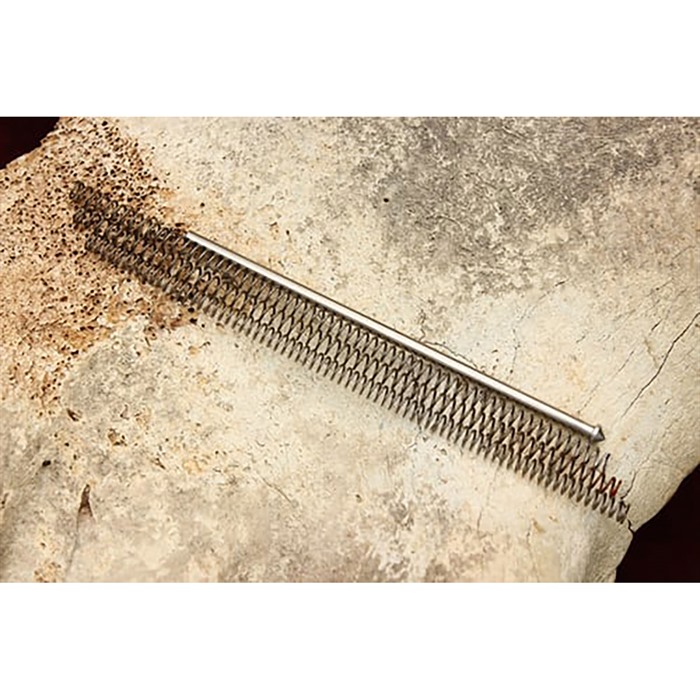
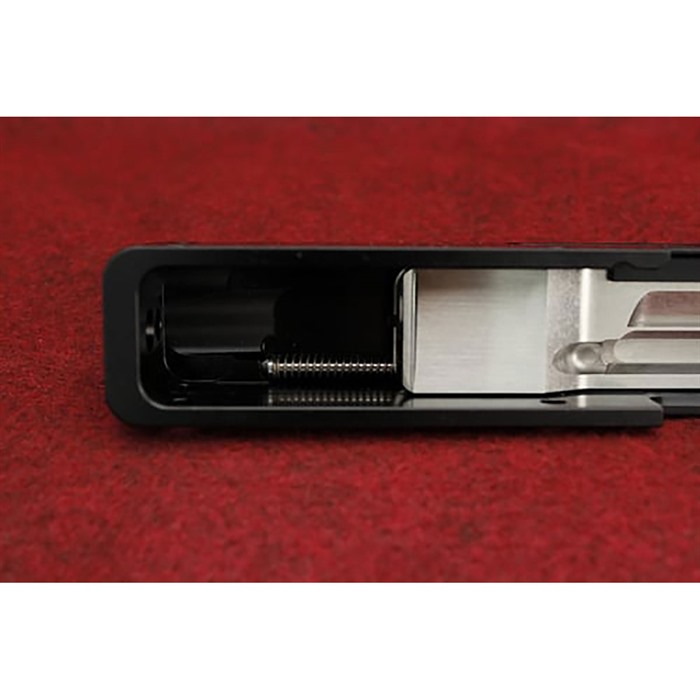
Upgrade the bolt handle assembly in the 10/22® Slick guide rod for easy racking Interchangeable tuning springs:(White=standard, Red=10% increase, Green=10% decrease) This great upgrade kit for your 10/22® will provide you with a comfortable bolt handle to grasp, a "super slick" guide rod, and the ability to tune the recoil of your rifle with our interchangeable springs. All bolt handle lengths are 1 3/4", which is 1/4" longer than the factory bolt handle assembly kit giving greater clearance for the shooter's knuckles while racking the bolt. The three tuning springs come in varying tensions for the ultimate in tuning capability. Though by and large the standard tension spring will serve the shooter throughout the different ammunition velocities. If, due to tolerance stacking or preferred ammunition the cycling of the action is out of sync then the shooter has the capability to change the spring without using the more primitive method of cutting coils to tune a spring. Handle Weights: black 762 (modified z shape flute)= .3 oz Precision ground guide rod is made from hardened tool steel and held to 2/10,000" tolerance throughout its entire length. The rod is nitride treated which gives its surface a 70C rockwell (harder than a file) surface hardness. Guaranteed the smoothest and slickest guide rod in the industry. Packaging Includes: bolt handle guide rod 3 tuning springs Installation instructions: After removing the stock from the barreled action, remove the trigger and bolt stop. This will allow the needed clearance for the bolt to be removed along with the bolt handle assembly. After choosing your proper spring tension slip the bolt handle assembly in from the ejection port, placing the cone end of the rod into the containment hole in the receiver. Then fully compress the bolt handle assembly while placing the bolt on it. After the mating of the bolt handle and bolt, let off the containment allowing the bolt to go forward. Install the bolt stop pin, trigger and stock. The video below offers some of the finer installation points.
Rüste deinen Ruger 10/22 auf!
Das GUIDE ROD & SPRING KIT FÜR RUGER 10/22 von KIDD INNOVATIVE DESIGN ist die perfekte Aufrüstung für deine Waffe. Mit diesem Kit erhältst du:
- Ein verbessertes Bolt Handle Assembly: Komfortabler Griff für einfaches Racking.
- Slick Guide Rod: Für ein reibungsloses Schießen.
- Interchangeable Tuning Springs: (Weiß=Standard, Rot=10% Erhöhung, Grün=10% Verringerung).
Dieses großartige Upgrade-Kit für deinen Ruger 10/22 bietet dir die Möglichkeit, den Rückstoß deiner Waffe mit den austauschbaren Federn zu optimieren. Alle Bolt Handle Längen betragen 1 3/4", was 1/4" länger ist als das originale Bolt Handle Assembly Kit und somit mehr Platz für die Knöchel des Schützen beim Racking des Bolzens bietet.
Die drei Tuning-Federn haben unterschiedliche Spannungen, um maximale Anpassungsfähigkeit zu gewährleisten. In der Regel wird die Standardfeder dem Schützen bei verschiedenen Munitionsgeschwindigkeiten dienen. Sollte die Funktion aufgrund von Toleranzen oder bevorzugter Munition nicht synchron sein, kannst du die Feder einfach wechseln, ohne auf die primitive Methode des Coil-Schneidens zurückgreifen zu müssen.
Handle Gewichte: Schwarz 762 (modifizierte Z-Form Flöte) = .3 oz.
Der präzisionsgeschliffene Guide Rod besteht aus gehärtetem Werkzeugstahl und hat eine Toleranz von 2/10.000". Der Stab ist nitriert, was ihm eine Oberflächenhärte von 70C Rockwell (härter als eine Feile) verleiht. Garantiert der glatteste und slickeste Guide Rod in der Branche.
Verpackungsinhalt:
- Bolt Handle
- Guide Rod
- 3 Tuning Springs
Installationsanleitung:
Nachdem du den Schaft vom barreled action entfernt hast, entferne den Abzug und den Bolt Stop. Dies ermöglicht die nötige Clearance, um den Bolt zusammen mit dem Bolt Handle Assembly zu entfernen. Wähle die passende Federhärte aus und schiebe das Bolt Handle Assembly durch den Ejector Port hinein, wobei das kegelförmige Ende des Stabs in das Halteloch im Receiver eingeführt wird. Komprimiere dann das Bolt Handle Assembly vollständig, während du den Bolt darauf legst. Nach dem Zusammenfügen von Bolt Handle und Bolt lasse den Halt los, damit der Bolt nach vorne gehen kann. Installiere den Bolt Stop Pin, den Abzug und den Schaft. Das folgende Video bietet einige der feineren Installationspunkte.